Overview of all the elements in the Microsoft Loop app
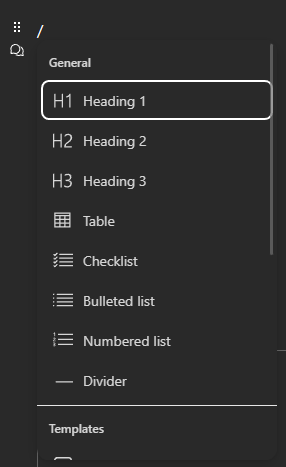
In Microsoft Loop you can add new elements to a page by typing / and then selecting the element you want to add. This post is a list of all the elements you can add to a page. This post will be updated as new elements are added to Microsoft Loop. If you have any questions or suggestions please leave a comment below, contact me on Twitter or write me an email.
Text
This is the default state you will find yourself in when working in a loop document.
You can format this text when you select it. You can also transform it into a heading.
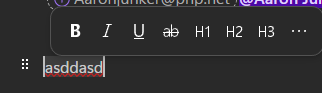
Available formatting options are:
- Bold
- Italic
- Underlined
Strikethrough
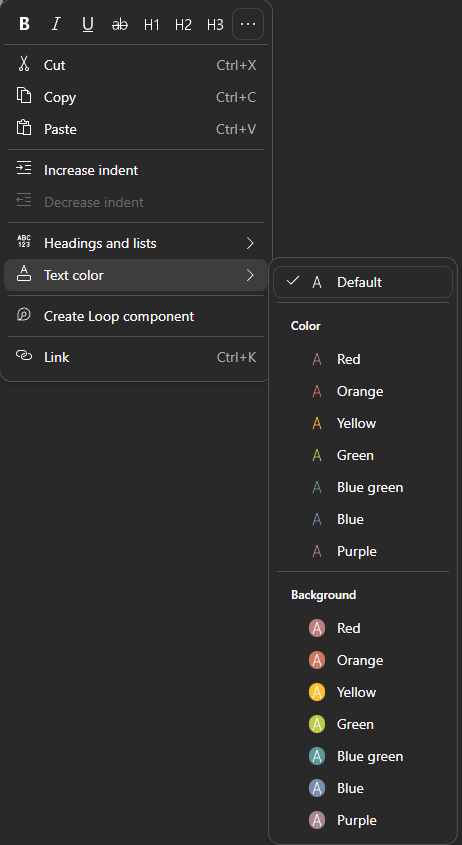
When clicking the “…” button you can find more formatting options like text color or background color.
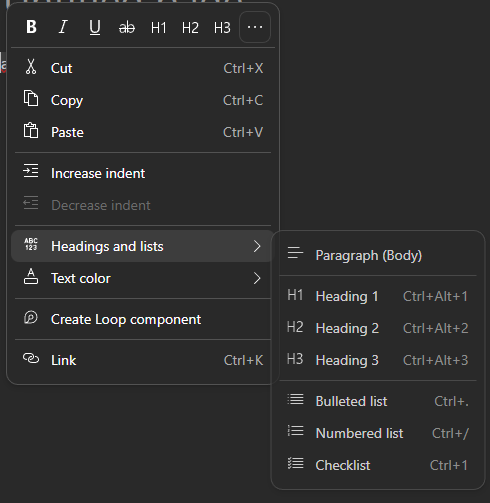
Additionally you can also transform the text into a list.
There are four inline elements you can add to your text:
Link
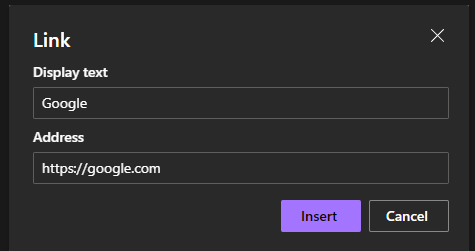
In your text you can add a link by selecting the text you want to add the link to and then pressing Link in the context menu.
You can set a display text and the address of the link.
By copy-pasting a link into your text, Microsoft Loop will automatically transform it into a link preview.

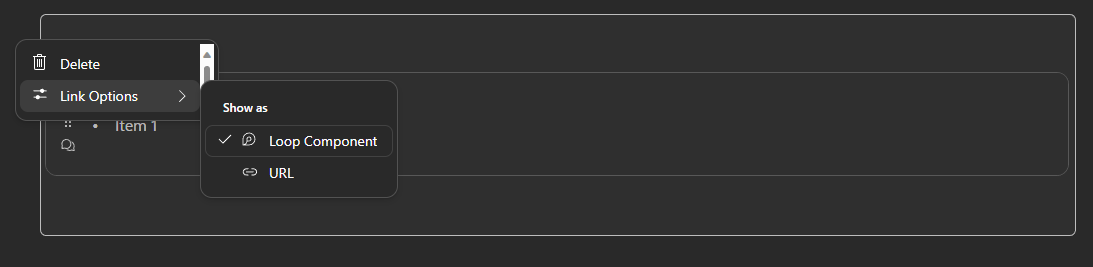
If you want to transform a link preview into a link, you can click on the ⠿ symbol on the left side of the link preview and then select Link Options and then Link.
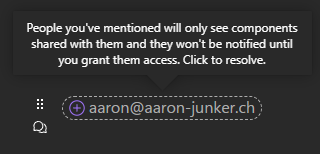
Person
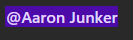
With the @ symbol you can add a person to your text. If the person does not appear as suggestion in the dropdown, you can add them by typing their mail address. If the mentioned user hasn’t access to the loop component or the page Microsoft Loop suggests sharing them the loop component or the page.
Emoji
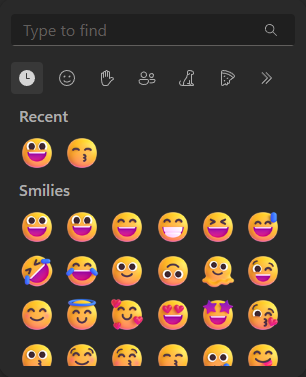
The emoji picker allows you to add an emoji to your text. You can search for an emoji by typing the name of the emoji.
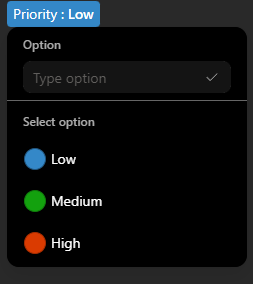
Label
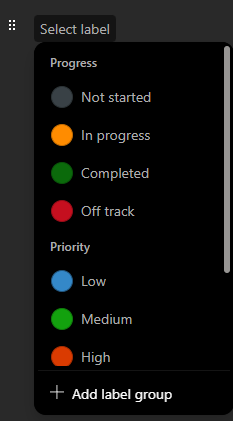
A label defines a status of a certain item. You can create label groups and add different options.
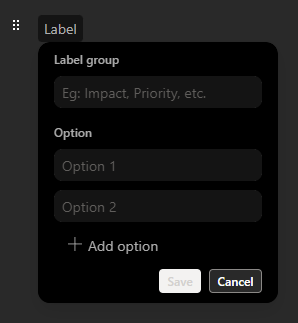
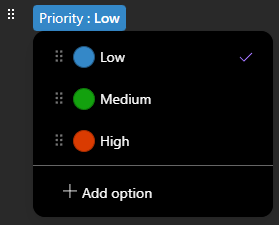
You can add a new label to an existing label group like this:
- Add a label of the label group you want to add a new label to.
- Click on the label.
- Click on
+ Add option.
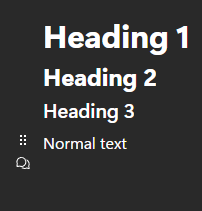
Heading
There are 3 different heading levels available. These 3 heading levels are 3 different sizes:
Table
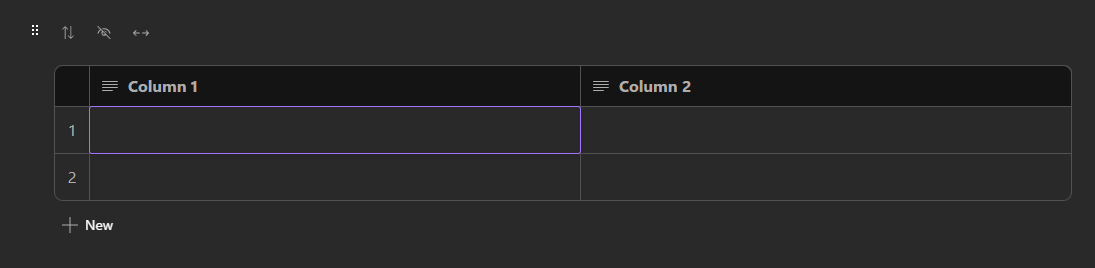
A table exists of named columns and numbered rows. You can add a new row by clicking on the + New button on the bottom of the table. The content of a cell can be formatted like normal text.
You can drag and drop columns and rows to reorder them. Additionally columns can be resized by dragging the right border of the column.
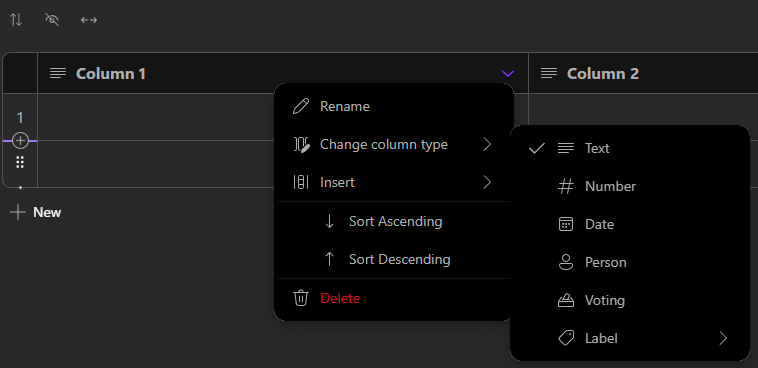
For adding a new column you can click on the + button in the top right corner of the column. You can also add a new column by right clicking on the table and selecting Insert and then selecting either Column to the right or Column to the left.
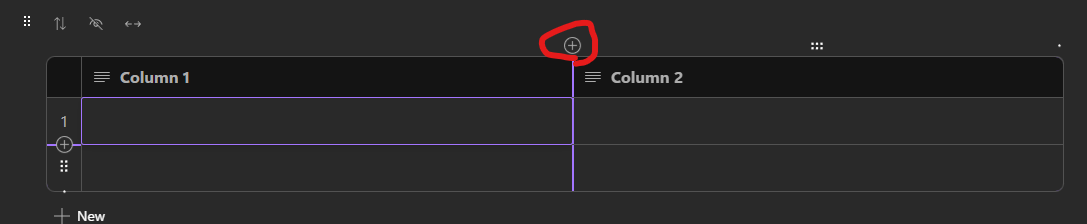
By clicking on the arrow down symbol in the column header you can Sort the table by the values in that column in ascending or descending order. You can also select a column type. The column type defines what kind of data you can enter in that column. They are explained in more detail in another blog post.
There are also three table templates available in the create menu:
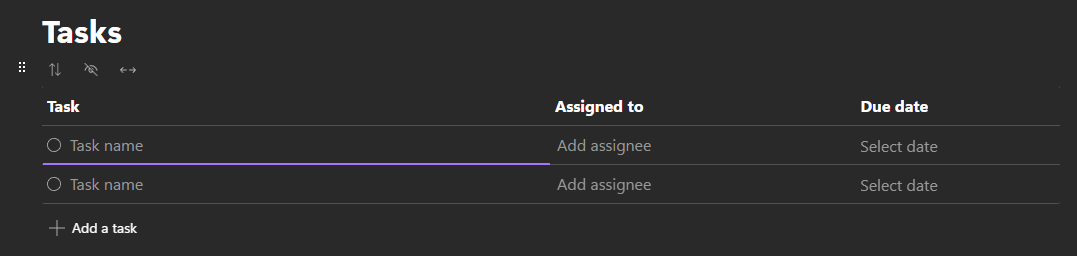
- Task list
This templates is not customizable
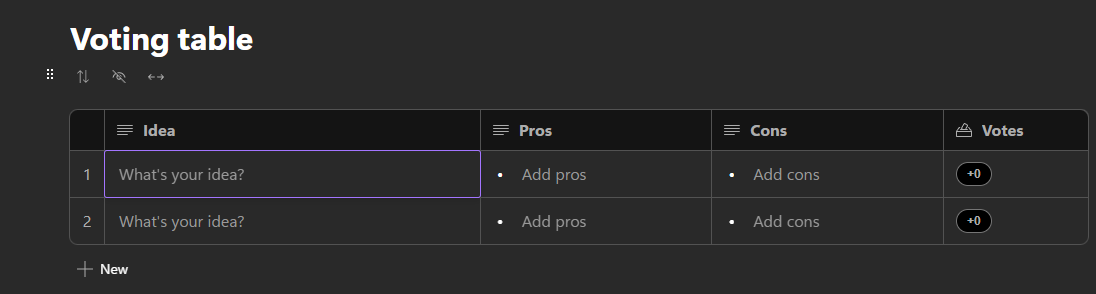
- Voting table
- Progress tracker
![]()
Lists
There are three types of list that you can add to a page:
Checklist
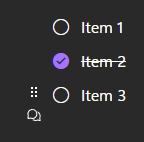
This list type consists of items that can be checked or unchecked.
Bulleted list

This list type consist of items that are marked with a bullet point.
Numbered list

This list type consist of items that are numbered. The numbers always start with 1.
Divider

This element is used to separate different sections of a page.
Loop component
And last but not least you can add a loop component to a page. When you insert a link to a loop component, Microsoft Loop will automatically transform it into the content of the loop component. If you just want to display a link to a loop component, you can add a link to the loop component and then click on the ⠿ symbol on the left side of the loop component and then select Link Options and then URl.